| The Go Social! tools are currently only available in Campaign Designer and Classic Editor, legacy features which might not be available in your account. |
Using our 'Go social!' tools you can easily add a variety of social sharing buttons to your campaign, such as a button to take people to your Facebook page, or to share a link to your campaign on Twitter.
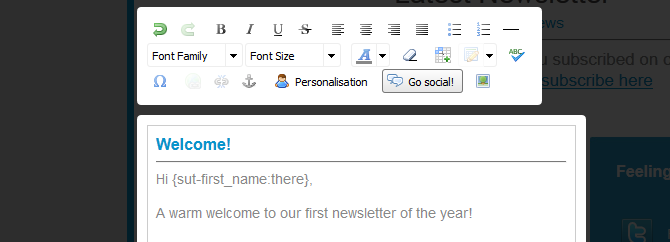
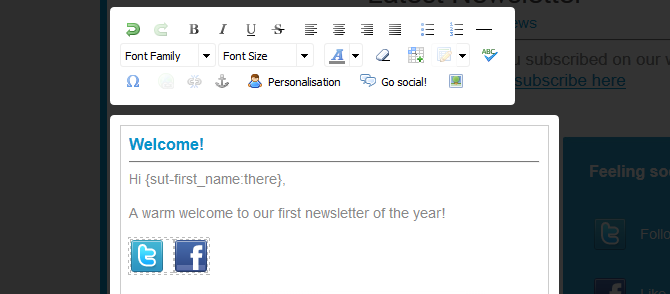
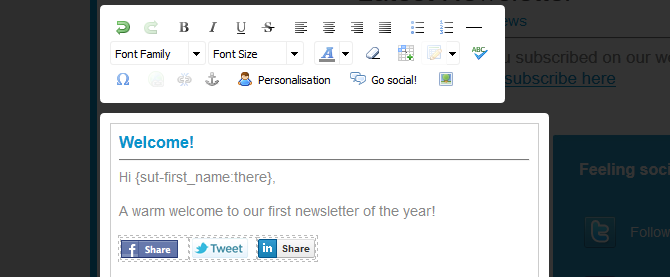
In Campaign Designer, click on the article in which you'd like the share buttons to appear, then click 'Go social!' in the toolbar to bring up the tools. Before clicking on it be sure to have placed your cursor where you'd like the share buttons to be inserted.
From here the process is the same for both editor modes. You will be presented with a new window containing two tabs: 'Get followers' (to promote your social network pages) and 'Go viral' (to promote your campaign).

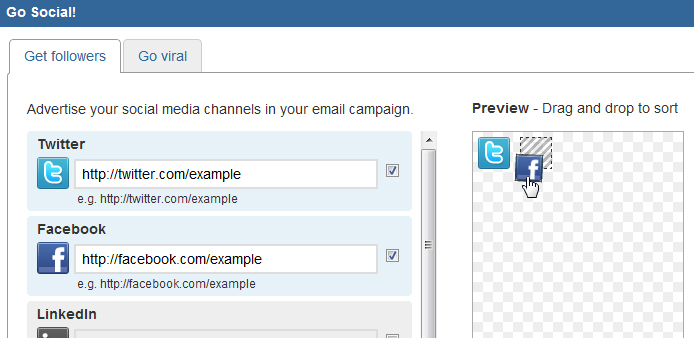
Get followers
Adding buttons using this tab will allow you to link to your social network pages.
1. Select social networking platforms
Tick the box for each social network page you have and would like to promote. Doing so will add the relevant icon to the preview pane on the right. You will also need to enter the URLs for each of your social network pages into the appropriate boxes on the left.
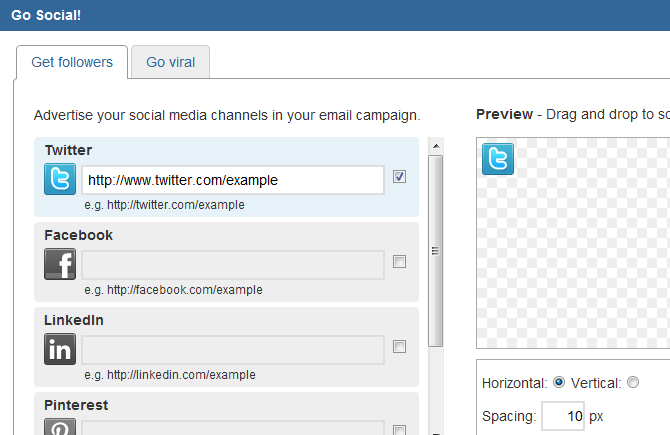
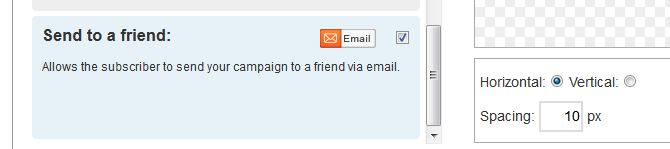
2. Align the buttons
Use the horizontal and vertical options to change the way in which the buttons line up and enter a number into the spacing field to customise the size of the gap between buttons.
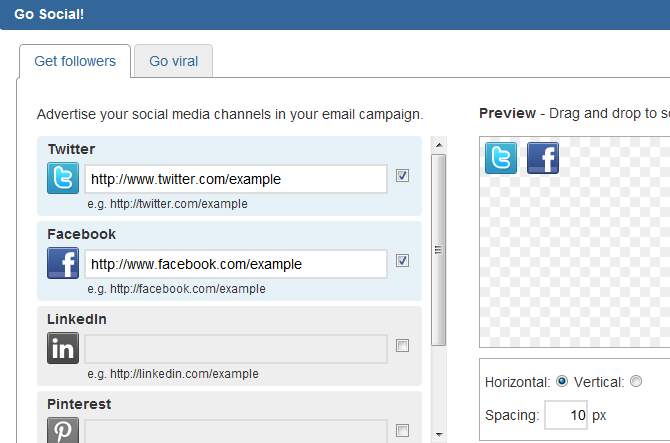
To change the order in which the buttons appear, simply drag and drop to switch them around.
3. Add the buttons
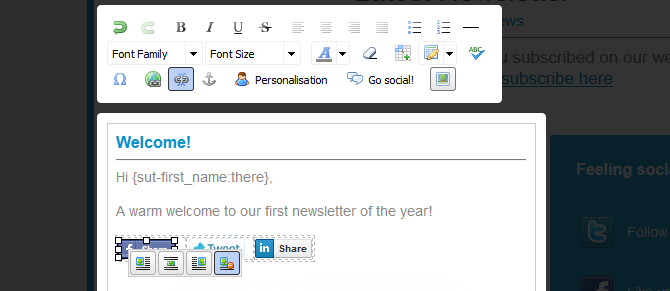
Clicking 'Add' will insert the share buttons into your campaign in the arrangement you have specified. They will appear in your campaign in a table and this is shown as a dashed grid, but the grid will not appear in your final campaign.
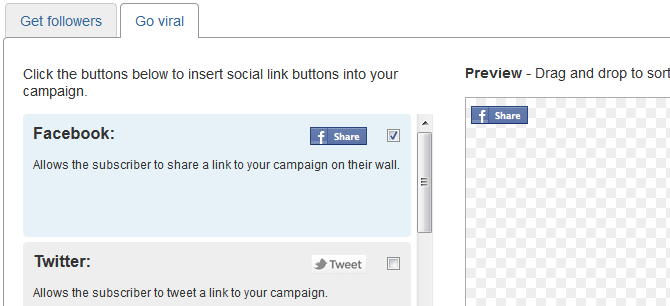
Go viral
Adding buttons using this tab will allow others to share your campaign on their own social network pages. The 'Send to a friend' button also allows your subscriber to easily send your campaign to a number of their friends.
1. Select social networking platforms
Tick the box for each platform that you'd like your subscribers to be able to share through. Doing so will add the relevant icons to the preview pane on the right.
2. Align the buttons
Use the horizontal and vertical options to change the way in which the buttons line up and enter a number into the spacing field to customise the size of the gap between buttons. If you'd like to change the order in which the buttons appear, simply drag and drop to switch them around.
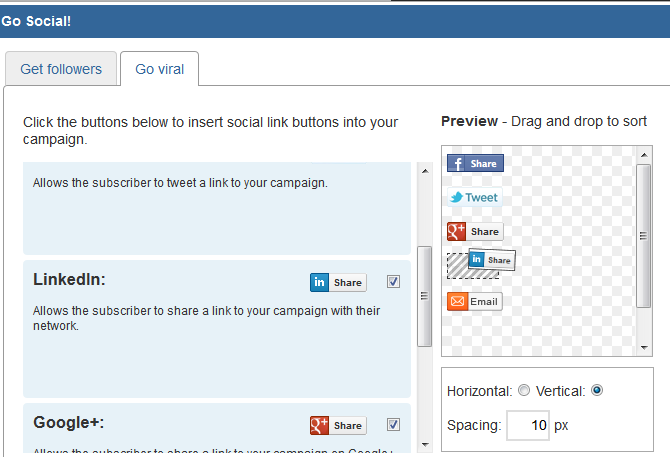
3. Add the buttons
Clicking 'Add' will insert the share buttons into your campaign in the arrangement you have specified. They will appear in your campaign in a table, this is shown as a dashed grid, but the grid will not appear in your final campaign.
Using custom images as buttons
Should you want to, you are able to use custom images in place of the standard buttons and still retain the share functionality. To do this, insert the standard buttons then click to highlight the one to be amended. Next click on the 'Insert/edit image' tool and select the new image from your image library. Clicking 'Insert' will add the custom button to your campaign in place of the default.