Marketing Automation allows you to perform an automatic action based on how your subscribers interact with your campaign. This guide will demonstrate how this works when the trigger is a subscriber being added to a list.
When a subscriber is added to a list (within Collect) you can have the system perform an automatic action; this can happen straight away or after a specified delay. These actions allow you to comprehensively manage your data. The available actions are:
- Send a notification to a specified email address
- Send the subscriber an email campaign (auto-responder)
- Send an SMS message to the subscriber
- Copy the subscriber to another list
- Move the subscriber to a different list
- Remove the subscriber from this list
To do any of these things you will need to have already prepared any followup content in the Create section of your account, i.e. email or SMS campaigns. As well as this you will need to have organised the appropriate list(s) in the Collect section.
The process in detail is as follows:
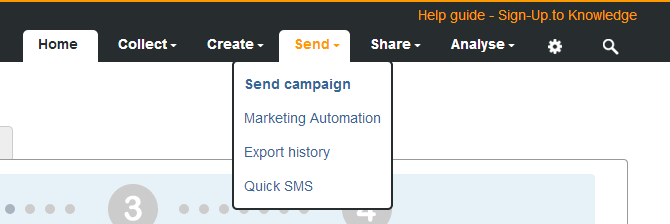
Go to the Marketing Automation tools, within the Send section of your account.
Click 'Create a new rule'.

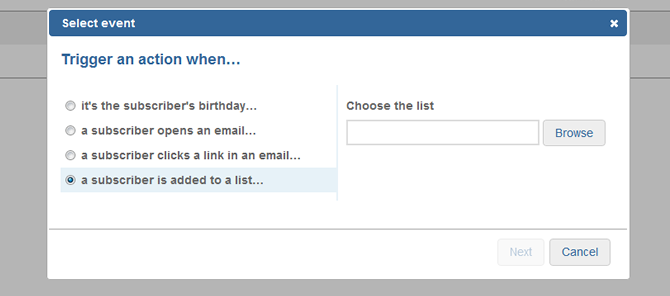
Choose to trigger the action when 'a subscriber is added to a list...', then on the right, select the list that you would like the rule to apply to.
On the next screen you can to set your desired followup action in response to the subscriber being added to a list.
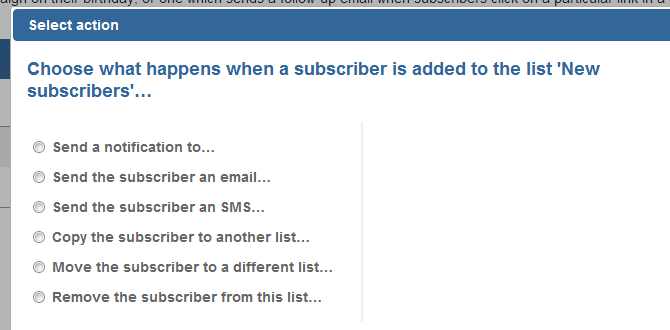
- The first option is to 'Send a notification to…', with you specifying the email address to be notified in the box to the right of the window. This triggered action could be useful for letting a member of the team know when a subscriber has joined the database. You may wish to use this if you need to follow up with any new subscribers. Please note this will not be triggered when a subscriber is imported. This will trigger when a subscriber is added through a form, added manually, added via API, or when a subscriber is added to the list via a move or copy rule.
- The second option allows you to send the subscriber an email campaign – historically known as an auto-responder. Simply choose the relevant campaign from the list on the right. You may wish to use this to welcome subscribers to your mailing list, or send them useful information about your business. Please note this will not be triggered when a subscriber is imported. This will trigger when a subscriber is added through a form, added manually, added via API, or when a subscriber is added to the list via a move or copy rule.
- Following on from this you also have the option to send the subscriber an SMS message once they've joined your mailing list. Browse on the right for the SMS campaign you'd like to send and set a delay if appropriate.Please note, using this action will cost the standard amount in SMS credits (as specified when creating the campaign) and relies on you having a subscriber's mobile number in the system. If there are not enough SMS credits in the account or you have no number associated with your subscriber, then no action will be taken. Similar to email, this action could be used to send a welcome message, or even a reminder about an event taking place. Please note this will not be triggered when a subscriber is imported. This will trigger when a subscriber is added through a form, added manually, added via API, or when a subscriber is added to the list via a move or copy rule.
The next three options allow you to cleverly manage your data and how it's organised:
- Copy the subscriber to another list. You may decide that subscribers added to a list need to belong in multiple lists – for example, you may have a welcome list but also need to keep them in a central location. Having this option allows you to store the subscriber information in multiple locations.
- Move the subscriber to a different list. In the below section of the guide you'll notice that you can choose when the action takes place, and with this option you may find it useful to send the subscriber an email or SMS message when they join the list, but then move them to another list after a set period of time. This option used to be known as list expiry.
- Remove the subscriber from this list. Similar to above you may look to use a list temporarily and here you can set to have the information removed from the list in question.
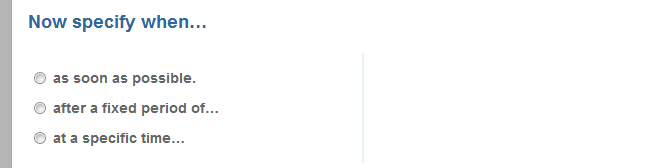
With all of the above options you'll be able to decide when the action should take place. Those actions are:
- As soon as possible. This means that the action will be without delay. Please note that this option is not available if the subscriber is being copied, moved or removed from the list.
- After a fixed period of time. Here you're able to determine how many minutes/hours/days after the event the action takes place.
- At a specific time. This option lets you set a specific time and date for the action. This is ideal if, for example, you're looking to send an email campaign to subscribers at a specific time of the day or you're looking to avoid weekends.
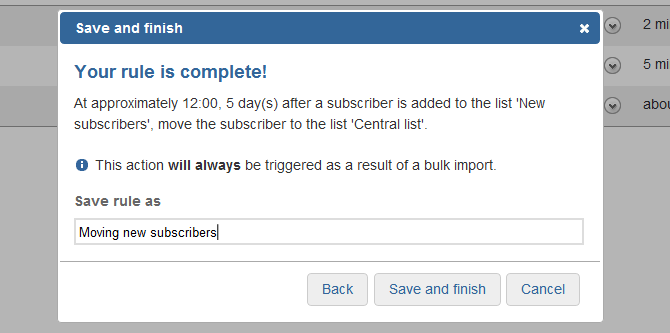
Once you have set up your rule, you will need to name it and save it.
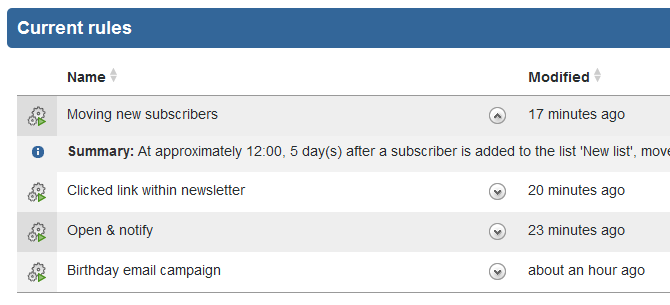
Your new rule will now appear in the list on the Marketing Automation page. You can see a summary of the rule by clicking on the arrow icon to the right of the rule name.
From here you are also able to edit any part of the rule, for example the action to be taken, the subsequent campaign to be sent or the timed delay.
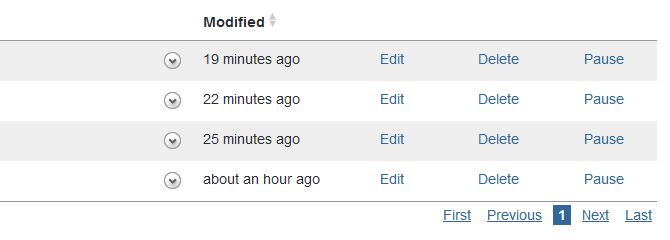
You are able to disable the rule at any time by clicking Pause (it can easily be resumed), or you can remove it altogether by clicking Delete. A rule will remain active until it is either paused or deleted.