Within your account, you may wish to have more than one user. User accounts make it easy to give different people access to your account and control what functions and data they can see. Setting up user accounts is simple:
First, click the cog icon on the navigation bar and then click 'Settings'. If you are a monthly or annual paying customer, you will now have the option to purchase additional users from the Marketplace.
Click the 'Add new user' link to the right of the 'Account users' blue bar to start creating a new user.
On the 'User details' page you can decide on a username and add the users' first name, surname and email address.
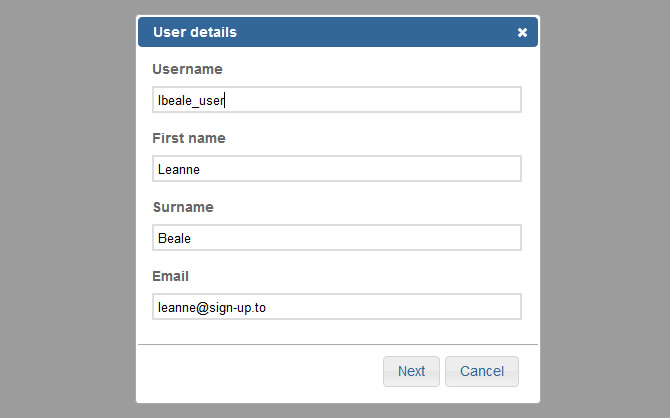
Click 'Next', and you'll be able to decide on the functions the user will have access to. These options correspond to the tabs along the top of your account.
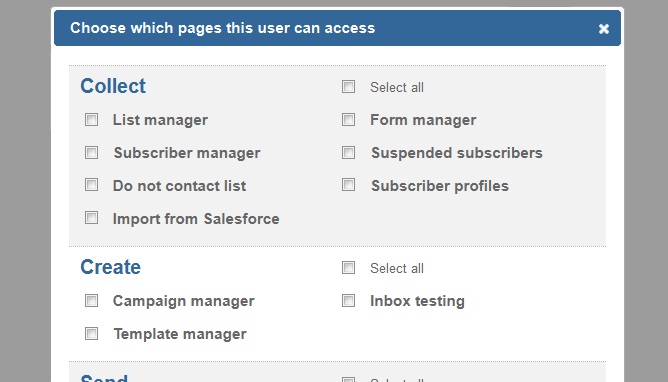
The options you can restrict fall into the categories Collect, Create, Send, Share, Analyse and Account. You can then restrict access to the individual pages under those tabs (for instance, in Analyse, you can restrict access to 'Campaign analysis' or 'Email analysis'). You can also use the "Select all" checkbox to give full access or no access to each section.
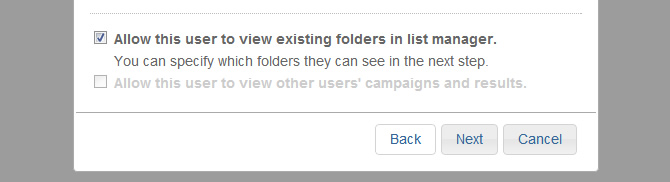
Additionally, if you choose for the user to be able to see the 'Lists' page, you'll be able to specify which folders they can see by ticking the tick box at the bottom of the page. On the following step you can check whichever 'Permitted folders' you'd like the user to have access to. Furthermore, If you choose for the user to be able to view the 'Campaigns' page, you'll be able to determine if that user can view other users' campaigns and results.
After saving, you'll be able to see the new user added to the 'Account users' section. The user will also receive an email detailing their login information.