The subscription form WordPress plugin allows you to put a data capture form on your WordPress site which adds subscribers directly to your Sign-Up.to account.
How to get the plugin
You can download the plugin files from your account by going to the cog icon and clicking "Integrations", or following the link in this PDF file.
You'll then need to log into your WordPress account and go to Plugins > Add New and click the 'Upload Plugin' button.
Select the file on your computer and follow the installation instructions.
Notes about setting up the plugin
To access plugin settings, in your WordPress account go to Plugins > Installed Plugins. Click 'Settings' under the subscription form plugin.
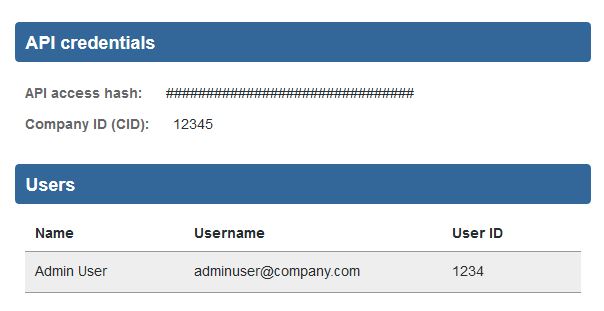
You’ll need to input the details for your Sign-Up.to account. These can be found under the cog symbol on the API access page.
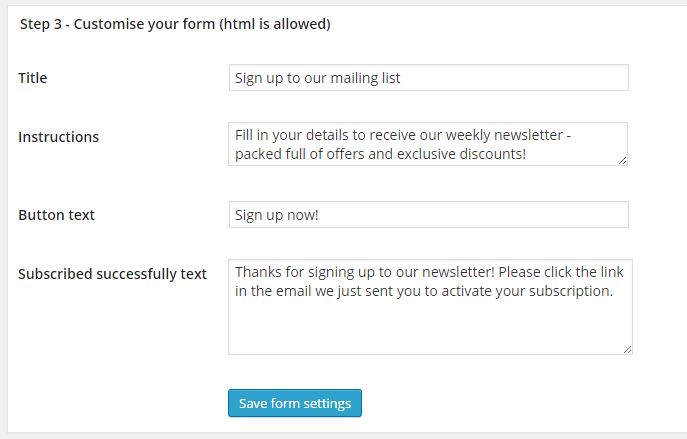
When creating your form, you can use HTML to customise it to match your website or branding. It's also a good idea to tell subscribers what they're signing up for – the kind of emails you'll be sending to them and how often they'll receive them.
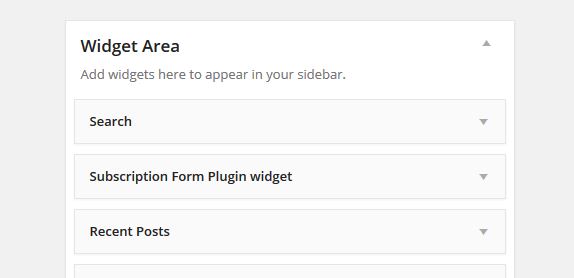
To add the plugin to your site, go to Appearance > Widgets and drag and drop the subscription form plugin into the widget area.
Alternatively, if you don't use widgets you'll need to manually add the following code in your theme editor:
<?php sut_form_captureform();?>
Confirmed opt-in email
To stop lots of bots or spammers signing up to your mailing list with fake email addresses, when a subscriber completes the form on your WordPress site, we'll send them an opt-in email with a confirmation link. They'll need to click this link to activate their subscription. You can set up a custom opt-in email by logging into your Sign-Up.to account and going to 'Lists' (under the Collect tab). Click 'Options' next to the list to which your form adds subscribers, and then click 'Create custom opt-in email'.
Further reading