Nobody likes receiving emails that aren't relevant to them, so why not give your subscribers a way to let you know what their preferences are? Using nothing more than a few tools in your account, you can create a 'preference centre' which you can incorporate into your emails to ensure everyone receives the emails they want.
How it works
Create subscriber profile fields to store your custom data and a data capture form to collect it. Place your data capture form within your emails for subscribers to keep their own data and preferences up-to-date. Then use Audience segmentation to filter your data and target your emails to match their preferences.
Creating a preference centre
Let’s imagine you send a monthly email campaign to all subscribers and additional information on specific products on a more frequent basis. You wish to give your subscribers the ability to control what products they hear about to ensure you're targeting a more engaged audience.
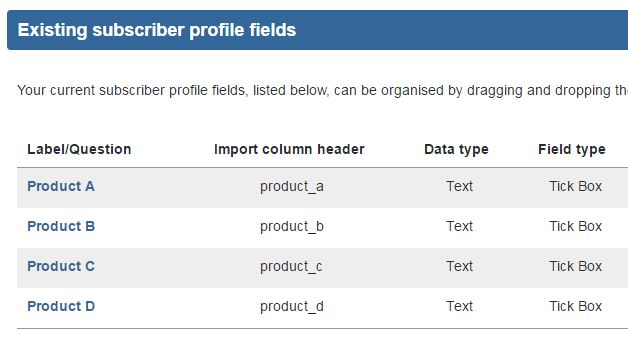
1. Subscriber profile fields
Firstly, you’ll need somewhere to store the data you’re going to collect. This takes the form of a Subscriber Profile field (custom data field). For this example we've used tick box subscriber profile fields for different product ranges.
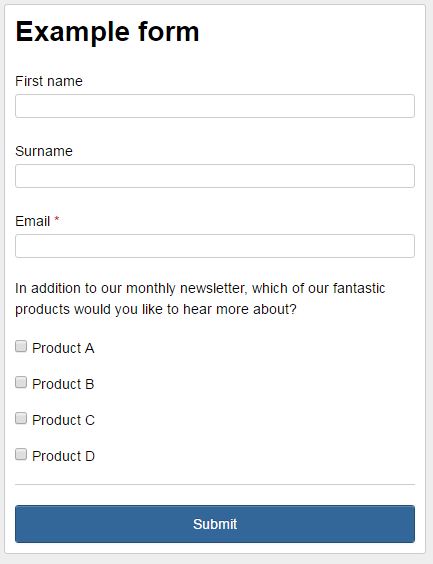
2. Create a data capture form
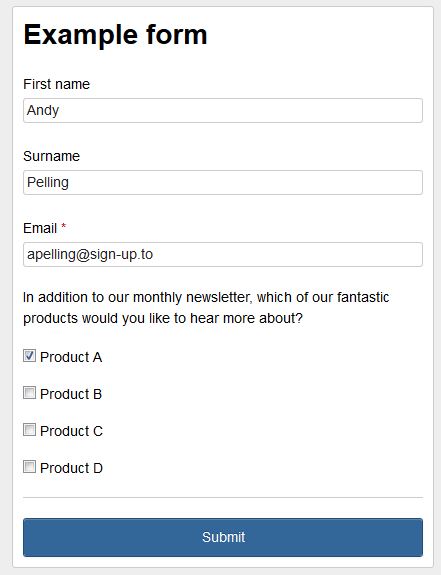
Next you create the preference centre (data capture form) within your account. You should be aiming to create something that is quick and easy for your subscriber to navigate, understand and complete.
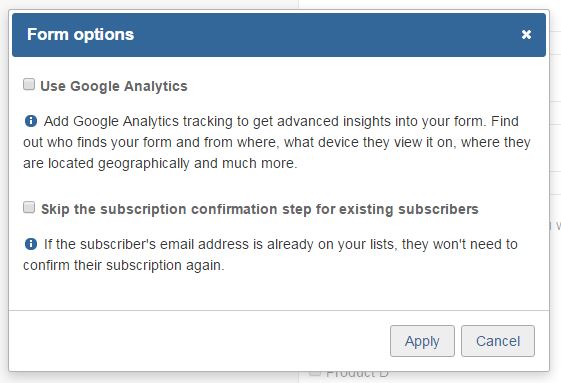
Once you've added all of your custom fields and any other data you may want to collect, make sure you head to the 'Options' menu in the top-right corner of the Form Builder and tick "Skip the subscription confirmation step for existing subscribers".
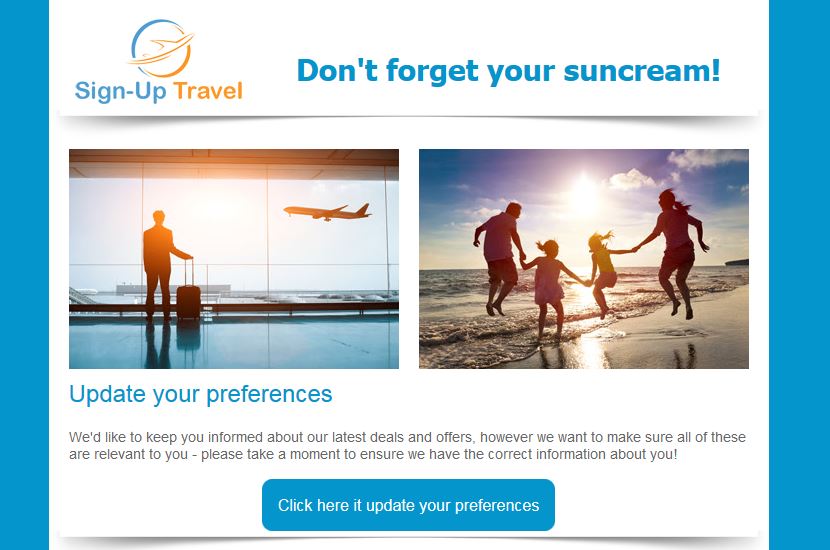
3. Add your data capture form to your email campaigns
Next copy the URL of the form and insert this as a link within your email campaigns. Our Email Editor gives you the option to add call-to-action buttons within your email campaign; ideal to make your form link stand out.
4. Pre-populate your form
Now, you need to set the form to pre-populate with the data you currently hold for the subscriber by adding personalisation to the form link. Not only does this make the preference centre look and feel really professional, but more importantly, it allows subscribers to see what they have already asked to hear about.
5. Applying the data to your sending schedule
You can create audiences to send to using your custom subscriber profile fields. Using our example, you'd need to create four audiences, one for each product (A, B, C and D.)
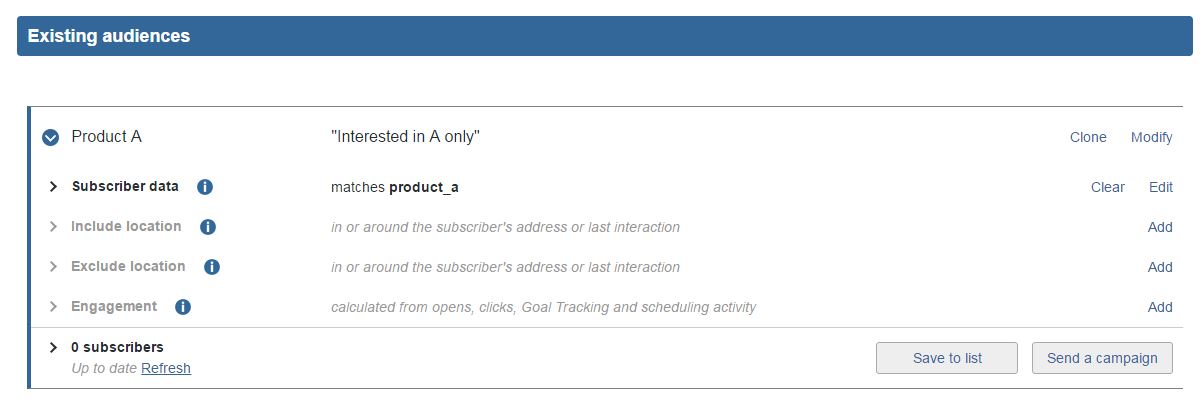
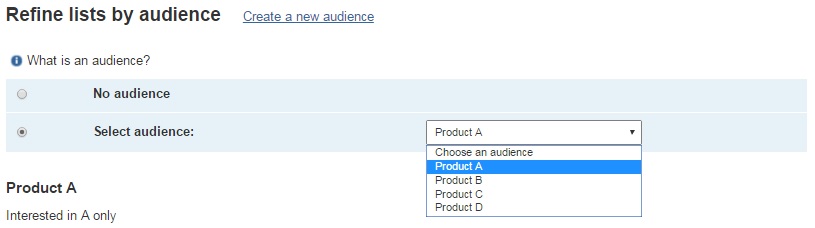
These audiences will each pull the subscribers that have chosen that data set, and act as a filter when you send your campaign. When you schedule a campaign, you can select your audience to send to.
Lastly, plan your sending schedule in so that you don't bombard subscribers with campaigns; managing your email sends is key. The rest will take care of itself.