Our Template Publisher feature is exclusive to our partners/resellers as it requires control panel access. It allows you to create a template in an account and publish it to another account or multiple accounts within your control panel. This is great for creating and testing templates for your clients prior to giving them access to them in their accounts.
This feature needs to be enabled for your control panel before it can be used. Please contact the team to arrange this. Once enabled this feature can also be restricted on a control panel sub user basis.
How to publish a template
1. First, we recommend setting up an account dedicated to template builds. Then log into the account and start creating a campaign using Email Editor. When ready, use the 'Save as template' feature within the Email Editor to save your design as a template.
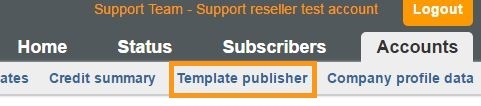
2. In your control panel, go to the 'Accounts' tab and select the sub-menu 'Template Publisher'.
3. Select the company that the template currently sits in, either using the drop down or by entering the company ID. Then click 'Select'.
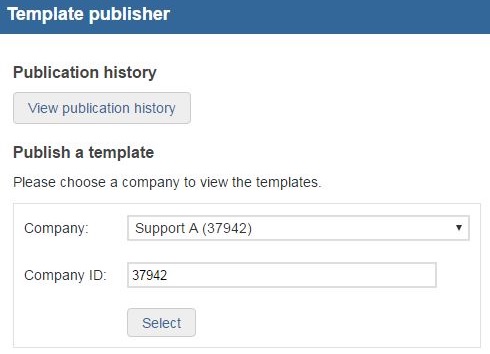
4. You will now see a list of the custom templates that are saved in that account.
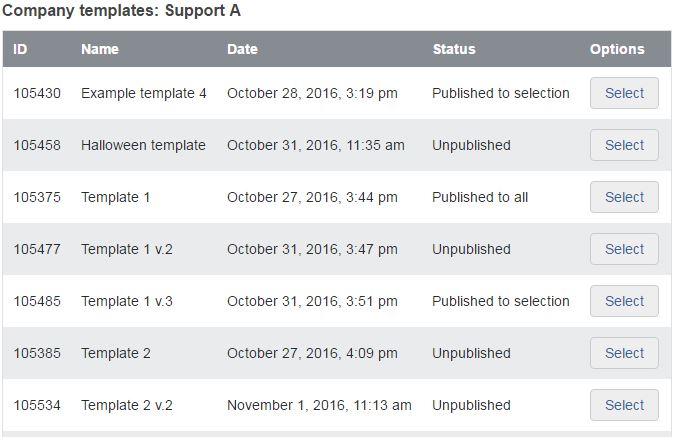
5. Click 'Select' next to the desired template. A thumbnail of the template will then be displayed with publishing options beneath.
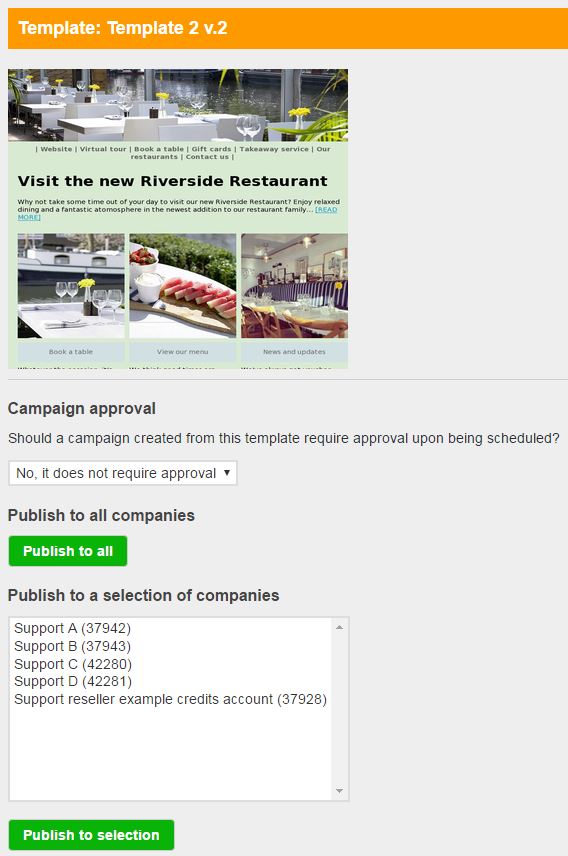
The three options are:
- Campaign approval - if you would like all campaigns created from this template to go through the approval process each time they are scheduled, choose 'Yes, it requires approval' from the drop down. Approvals can only be actioned via the control panel and not by individual client accounts. See our Campaign approval guide for full details.
- Publish to all - this will publish the template to all of your accounts within your control panel.
- Publish to a selection of companies - this allows you to select one or more recipient account. Holding down the shift or control key while selecting with your cursor allows for multiple selections. Click “Publish to selection” to add the template to the selected accounts.
Please note: If a template uses a custom component, the component will be included in the published template for the account user to use, but it won't be added to the recipient account's Component library.
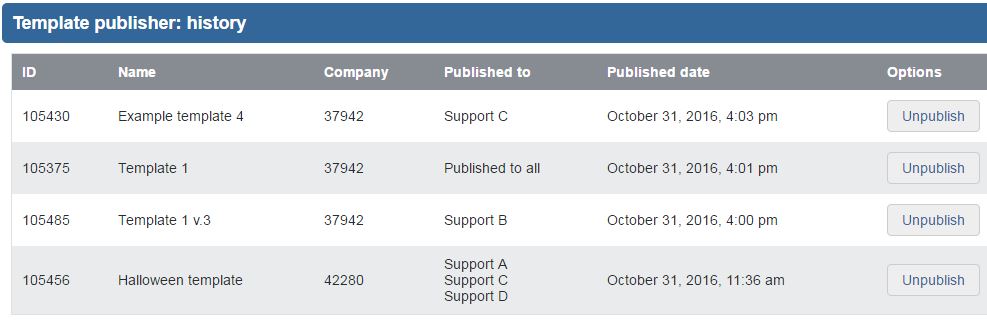
Viewing your publication history
You can view a history of your previously published templates in your control panel by going to Accounts>Template Publisher and clicking 'View publication history'.
This displays the template ID, the name of the template, the company ID of the account the template was created in, the name/s of the account/s the template was published to, plus the publishing date and the 'Unpublish' option.
Removing a template
The only way to remove a published template from a recipient account is using the 'Unpublish' option via your Publication history in the CP. Clicking this will delete the template from the recipient account/s but it won't delete the original template from the originating account. If you've accidentally published the template to more accounts than you wished to, you can simply unpublish that template and then publish it again to the correct accounts.