The "Assistance Centre" in your control panel gives you the opportunity to display tips and prompts for your clients on their Home page. You can use this to add news items (for example, when a new template is available) or display links to your blog or website. Anything entered into the Assistance Centre is shown across all your accounts.
Adding new messages to the Assistance Centre
To access the Assistance Centre in your control panel, go to 'Accounts' and select the 'Assistance Centre' tab.
If you want to simply add some text, you can do this by free typing into the box. If you want it to add headers, links or images, you'll need to use some very basic HTML tags.
While the interface of the Assistance Centre is quite basic, it does supports many standard web page HTML commands.
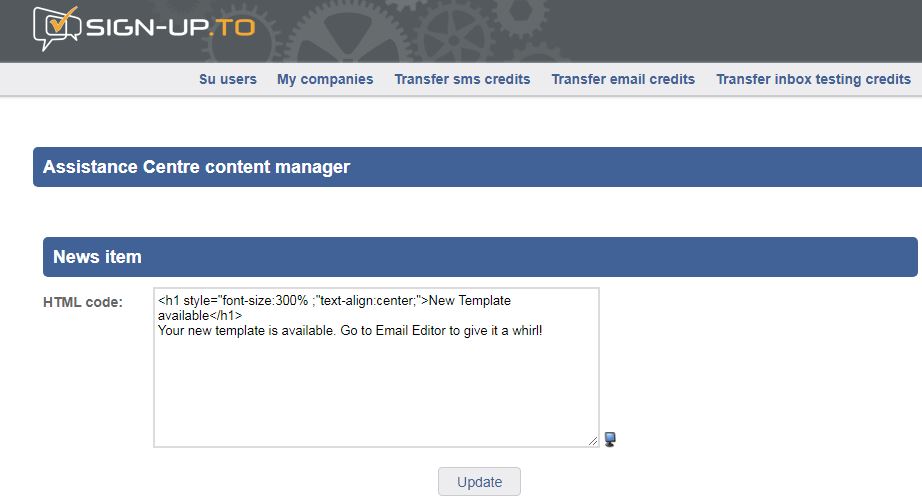
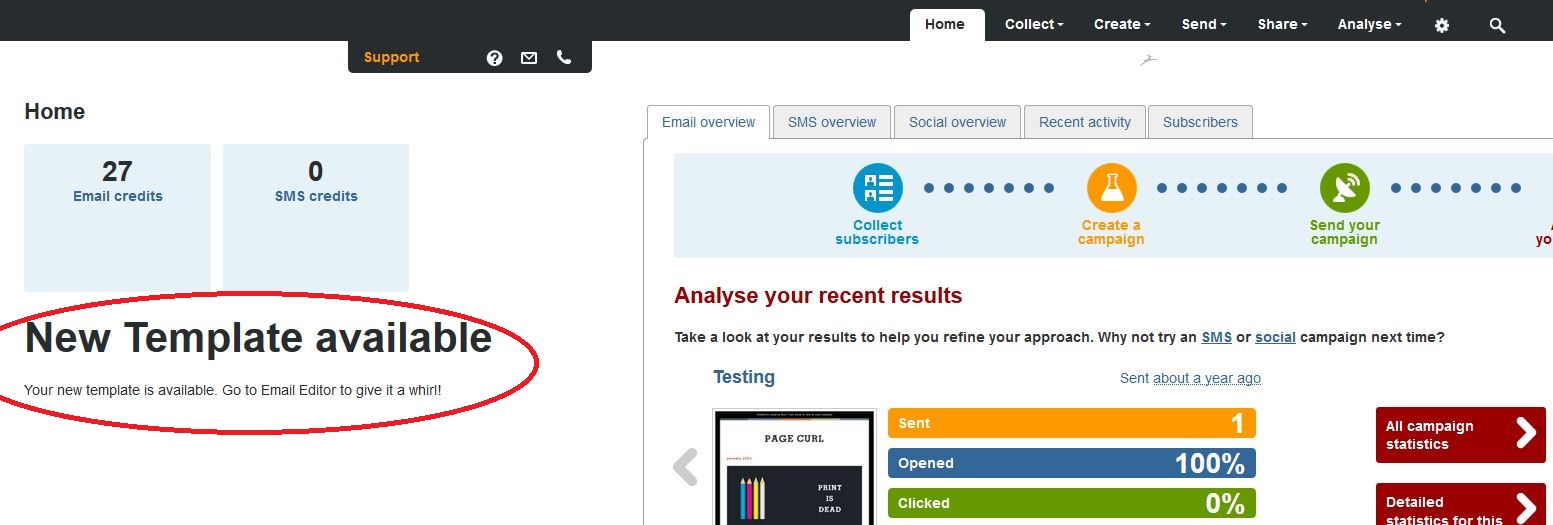
Once you're happy, simply press the 'Update' button to apply it to all accounts. Your message will show on the left-hand side of the Home screen for all your accounts.
What is supported by the Assistance Centre?
Most standard web page HTML tags are supported within the Assistance Centre. Supported items include:
- Headers
- Hyperlinks
- Images (these would need to be hosted somewhere first)
CSS and <style> tags are not recommended as these can influence and override other parts of the Sign-Up.to platform, resulting in display strangeness.
For help on web page HTML, there are various guide online, however W3 schools has a large variety of examples and material to help you.
Headers
One way of adding a header or title can be using the <h> tag. You can increase the size of header by adding an additional style attribute and amending the percentage value appropriately.
Example code:
<h1 style="font-size:300%;">Your text here</h1>
Hyperlinks
You can add a link to the Assistance Centre by wrapping an <a> tag around your text. Remember, a link will appear as follows in all browsers:
- An unvisited link is underlined and blue
- A visited link is underlined and purple
- An active link is underlined and red.
The formatting of link colours is tricky to change as CSS is not supported. We suggest you stick with the standard styles.
Example code:
<a href="Your link here">Your text here</a>
Text colour
The colour of your text can be specified by wrapping your text inside a <p> tag and adding a style attribute. You could also add a style attribute to a header tag. You can then specify the colour you want to use by inputting the HEX or RGB value of the colour you're selecting.
Example code:
<h1 style="color:#ff6347;">Your text here</h1>
<p style="color:#ff6347;">Your text here</p>
Images
Using the <img> tag, you can embed images into the Assistance Centre display area, however we'd recommend small images, no wider than 300 pixels. This is because larger, unconstrained images will stretch out the display and can hide under other parts of the platform. You'll also need to make sure your image is hosted (living somewhere on the internet) so that our site knows where to retrieve it.
Example code:
<img src="Your_image_URL_here.png" alt="Description_of_image_here">
Is there a limit to the length of my posts?
No. Our system will automatically wrap text onto new lines based on the width of the user's screen and if the posts are too long, the page will simply become scrollable automatically - like any web page.
Unconstrained images can also make the page scrollable, both vertically and horizontally - so its best to avoid using large images altogether.
That's it!
Hopefully, following the simple steps above, you'll be able to build and maintain your Assistance Centre with ease. Of course if you do get stuck or are unable to find it in your control panel, our friendly support team are here to help.