| This guide references Campaign Designer, a legacy feature which might not be available in your account. |
With the Campaign Designer mode you can add and remove articles (blocks of content) and move them up and down in your email, making it easy to tailor each template to suit your content.
This functionality is available in most templates, but it's best to check before you start creating your email that the template you've chosen is right for it.
First, open the campaign you're working on.
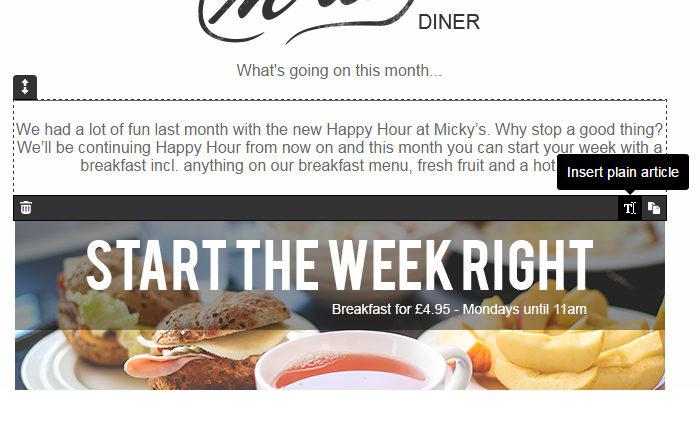
You can see the different articles by hovering over bodies of text. Article boxes will appear with a dotted line around them and a grey bar along the bottom.
Next, to add a new article, hover over an existing one and go to the icons in the bottom right-hand corner. One of them creates a new plain article box, and the other gives you the option to clone the article with exactly the same content.

The new article will appear below, and you can click it to edit with text and images.
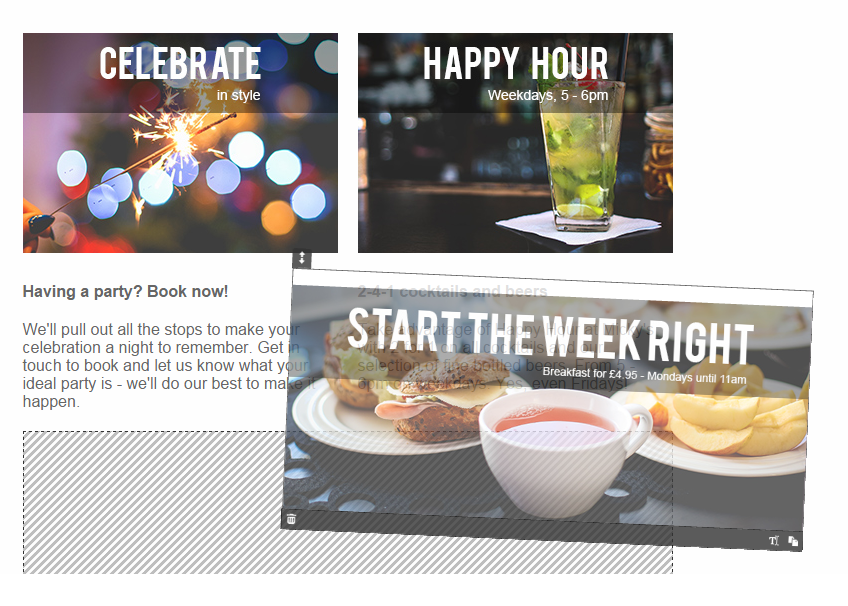
You can also move articles around. To move an article, click and hold the arrow icon at the top of the article and move it down or up to where you want it. Or you can just click and drag the article to shift them around.

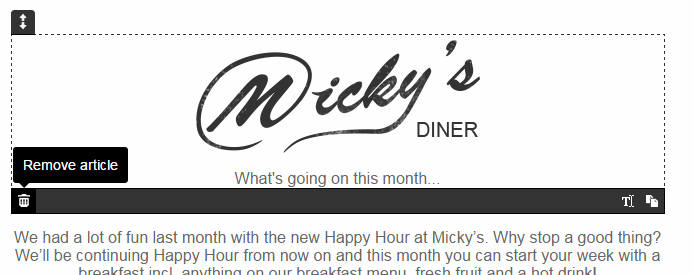
To remove an article, click the bin icon in the bottom left-hand corner of the article.
