It's easy to add images to your email campaigns in Sign-Up.to – we'll even host the images for you. This guide will explain how to add an image in all our editors, depending on the editor you're using simply look at the relevant section below.
Before you start, you'll need to save your image as a JPEG or PNG file. It's a good idea to ensure the file size is not too large and that the image dimensions are right for your template. You can make small adjustments to the size after importing, but it's easier to work with images that are already roughly the right size. (If you've created your image in Photoshop or a similar program, you also need to make sure that the colour format is saved as RGB, not CMYK.)
- Adding an image in our Email editor
- Adding an image in Campaign Designer or Classic Editor (legacy features which might not be available in your account)
Adding an image in our Email editor
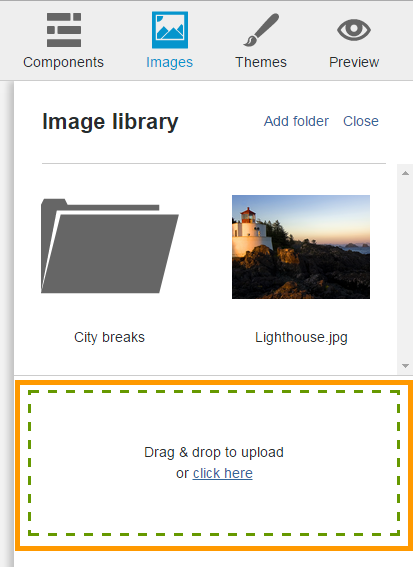
Once you've opened your campaign in the editor, you can upload images to your image library by clicking on the Images icon in the top right-hand corner of the editor.
![]()
You can then either drag and drop image files straight from your computer into the drag & drop box, or upload them by selecting the 'click here' option within the box, then choose the file/s from your computer and click 'open'.
To insert the image into your campaign, simply drag and drop the file from the Image library into one of the components in your campaign and click 'yes' to replace the content.

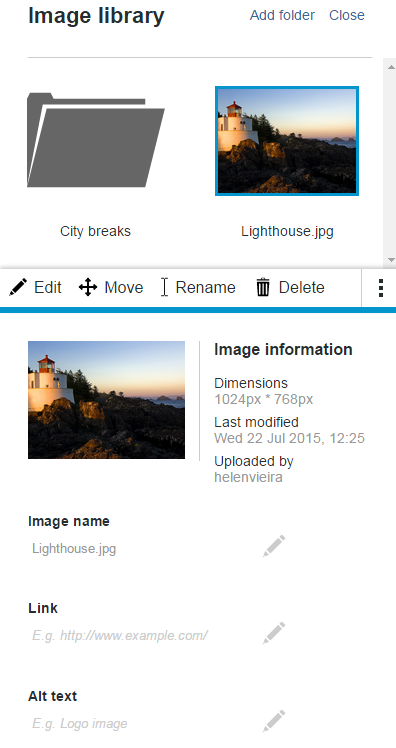
Clicking on the image thumbnail back in the Image library gives you further image options - you can view the dimensions, rename the file, add alt text, add a link, crop the image or delete the image from the library.
Please note: we would always advise resizing your images to the actual component width where possible. A handy guide on image quality and image sizing for the new Email Editor can be found here.
Alt text is what the subscriber will see in the image area in your email before downloading images in their inbox, so it's a good idea to put a name or description here as this will encourage subscribers to download images. Alt text also improves your chances of avoiding spam filters.
Adding an image in Campaign Designer or Classic Editor (legacy features which might not be available in your account)
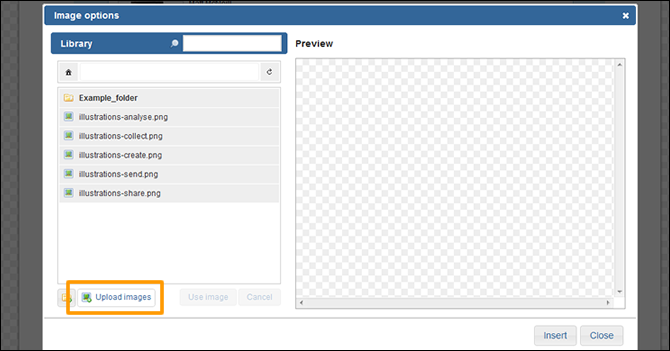
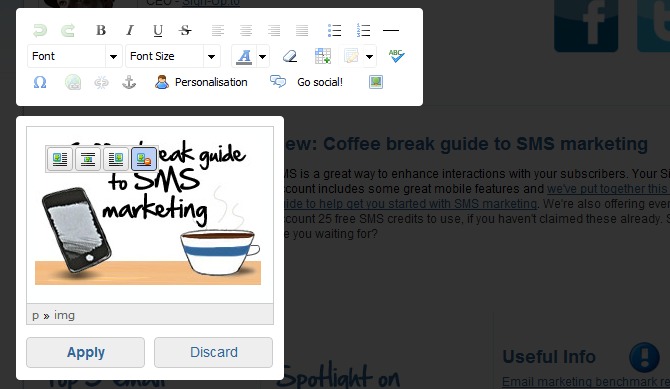
Once your email campaign has loaded you can add images within an article (section) by clicking inside the box. Once open, click the 'Insert/edit image icon' on the toolbar (circled in red below).

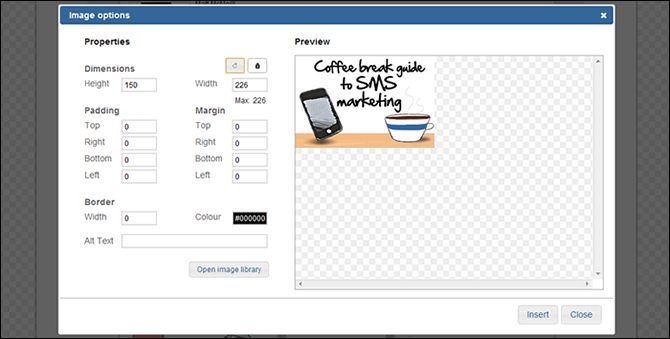
This will bring up the 'Image options' window where you can create and organise all of your images. This window will also show you existing images that you've already uploaded. In this guide we'll add a new image, so click 'Upload image' at the bottom of the window.
This will bring you to the upload image window where you can upload up to 10 images in one go. First select 'Browse' and then select the image from your computer, then click 'Upload'.
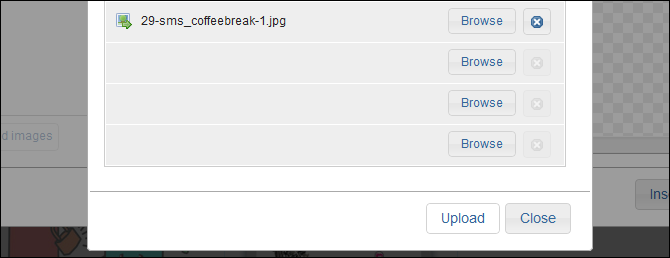
You'll be presented with an image uploading box, followed by a message telling you the image(s) have been uploaded successful, so click 'Close'.
Next, click 'Insert' and you'll see the image in your email campaign.
If you need to edit your image at any point, simply click the image and then the insert/edit image icon and you'll see the 'Image options' window. Here you can add borders, a margin or padding, and you can change the size of the image.
You can also add alt text to your images, which the subscriber will see before downloading images in their inbox; it's a good idea to put a name or description in this box, as this will encourage subscribers to download images, and alt text also improves your chances of avoiding spam filters.