In order to ensure that only valid and correctly typed subscriber data is added to your account, our data capture forms use a double opt-in loop so that subscribers can confirm their subscription. After a subscriber submits their details via a form, they'll receive an email with a unique link which they need to click to validate their subscription. This opt-in email can be customised to include your choice of text and company branding.
Adding a Custom Opt-in email
Custom opt-in emails are attached to the list the subscriber is added to (rather than the form they fill in, for instance), so head to 'Lists' under the Collect tab, find the subscriber list you would like to add the email to and click 'Modify'. In the small window, select the 'Custom opt-in email' option.
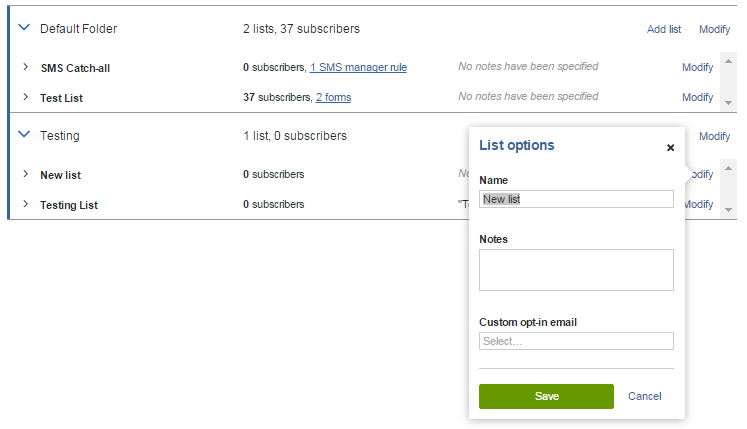
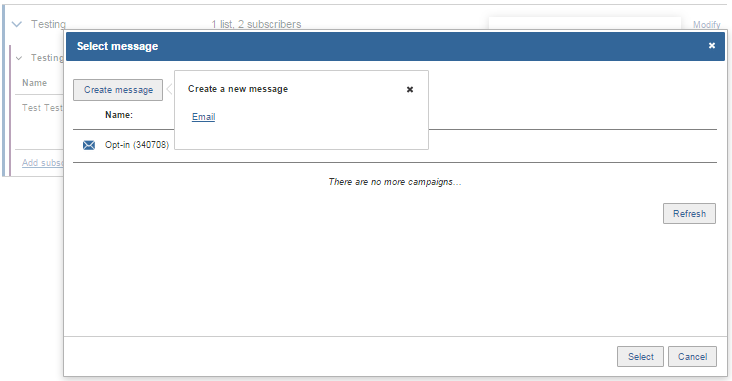
This will open a pop up window where you can select an existing custom opt-in email or create a new one.
Creating a Custom Opt-in email
When creating a new custom opt-in email, you will be taken to our email editor in a new tab, allowing you to create the email with ease.
Please note: You can also create these Custom Opt-in emails using HTML code. Please see our 'Adding personalisation to emails created using HTML input mode' guide for the correct link to add for this. If you are creating the email in the HTML mode, you will need to navigate to Create, create the email and then return to the 'Lists' page within Collect to apply the custom opt-in email to the relevant list.
To ensure the email is set as a custom opt-in type, you need to do the following:
- Include the Opt-in link
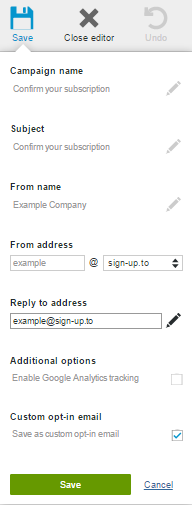
- Save the campaign as a custom opt-in email
To insert the opt-in link, highlight the text you'd like to be the link, such as 'Click here to confirm' and then click on the link icon. Select the 'Campaign link' option, which will then show a drop down list containing an 'Opt-in link' option. Once this has been chosen, click 'Insert link'.
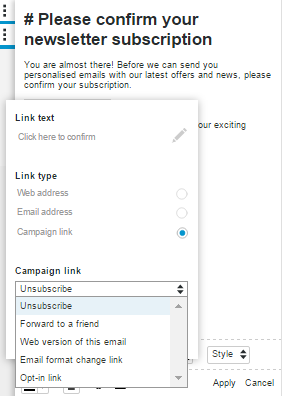
As soon as the opt-in link has been included, the email campaign will be able to be saved as a 'Custom opt-in email'.
You will be able to send yourself previews and edit the opt-in email as needed, until you're happy with how it looks.
When you are ready to apply the opt-in email to the list, you can return to the previous tab, hit 'refresh' and select the campaign from the list. Then hit 'Select'.
Finally choose 'Save' to apply these changes to the list.
The 'Custom opt-in email' will now appear next to the list it has been assigned to. If you wish to change which custom opt-in email is assigned to the list at any point, you can use the 'Modify' option.

These custom opt-in emails can also be viewed and edited from the Create page. Select the 'Opt-in' tick box to view only opt-in emails.
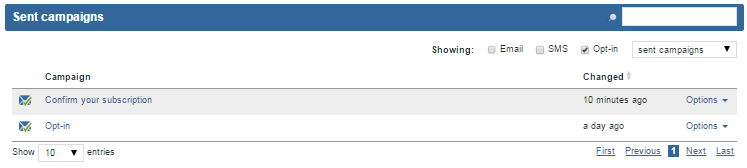
Please note: As soon as a 'Custom opt-in' email has been assigned to a list, it will be marked as sent, to ensure no edits are made to it, which could affect its association with the list.
If you wish to make any edits to an opt-in email in this state, you will need to create a 'copy' of the campaign and then reapply the new opt-in email to the list held in Collect.