An SMS reply message allows you to automatically send a message to a subscriber when they first send you a text message. To set a reply message, head to the 'SMS manager' under the Collect tab.
Create a new rule
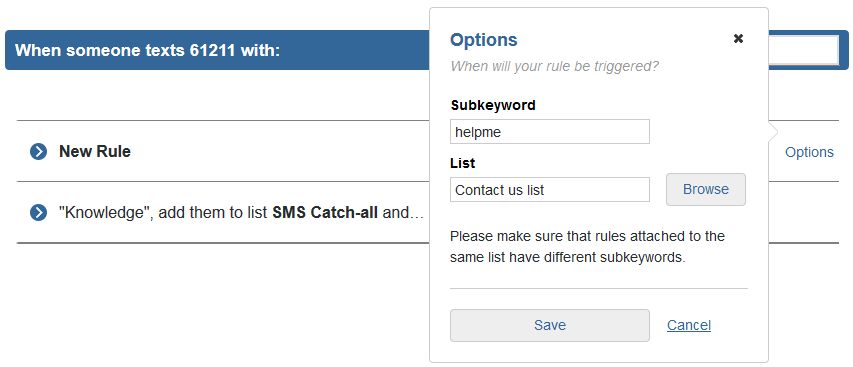
You first need to decide when your rule will be triggered. Click 'Create a new rule' to choose the list you want the subscriber to be added to and the subkeyword they'll need to text in to trigger the rule. Hit 'Save' when you're done.
The actions will now drop down under your new rule. For more information about what each of these do, take a look at our guide to setting up text-to-subscribe services.
To send a reply message, click 'Add' next to the 'Send them an SMS' action. You now have a number of options.
Select a campaign
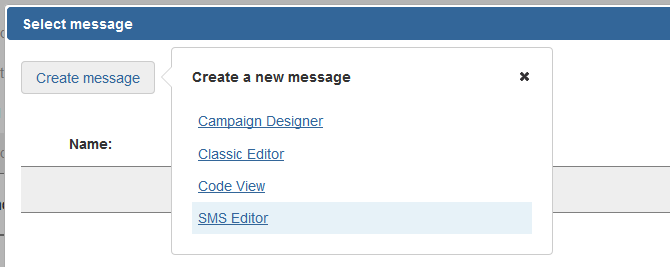
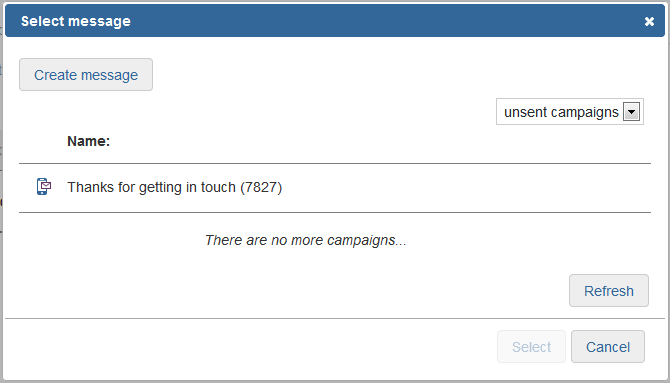
Here you can browse through SMS campaigns you've created and select which one you want to send to your subscribers. Forgot to create an SMS campaign first? Don't worry – click 'Browse' and then 'Create message' in the top left of the dialogue box. A new browser window will open with the editor. Create your SMS message and save it before closing the window and returning to the SMS manager window. Click 'Refresh' and your newly created campaign will appear.
Select a time to send
You can choose how soon after receiving an SMS message you want to send your reply: immediately, after a fixed period of time, or on a specific day and time. You can also choose to exclude weekends which could improve responses for B2B marketing.
Don't forget to save!
Once you're finished, hit 'Save' to apply your changes. Anyone who now texts in your company keyword and list subkeyword will be sent the reply message.
Add a reply message to an existing rule
If you already have a text-to-subscribe rule set up, you can add the reply message as an action.
Click on the arrow on the left-hand side of your rule to display the actions drop down.
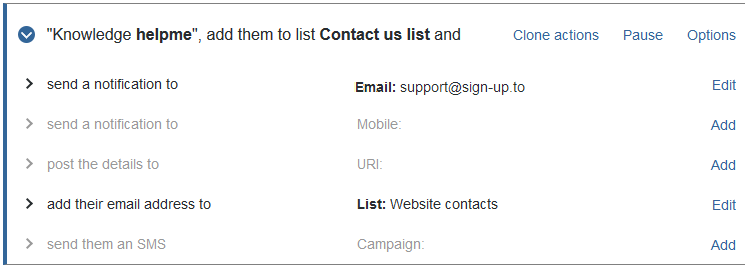
Click 'Add' next to the 'Send them an SMS' action to set up the reply message. You can now select a campaign and the time you want to send it, as detailed above.