To support the launch of our upgraded Marketing Automation tools we have developed our first 'Show me how' campaign, designed to show users how easy automating your marketing efforts can be and the opportunities it can bring you. To find out more about Marketing Automation head to our online form and we'll send you an handy email straight away.
The campaign itself is set up using tools available in all Sign-Up.to accounts and in this guide we'll walk you through the features used. This includes creating a data capture form, setting up a custom opt-in email, creating email campaigns using the Campaign Designer mode and, of course, using our Marketing Automation tools.
First things first, the campaign itself is made up of the following:
- Collect: creating a list, custom opt-in email, and a data capture form.
- Create: six email campaigns designed to send based on the readers' interaction with the campaign.
- Send: 18 Marketing Automation rules (across six email campaigns).
Collect: creating a list, custom opt-in email, and a data capture form.
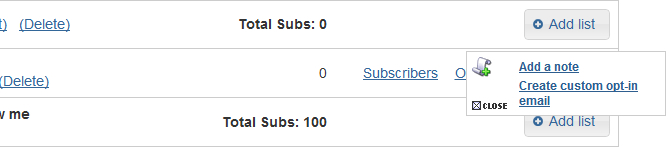
Once a folder and list is created in Collect it's a good idea to create a custom opt-in email campaign. A custom opt-in email is sent to a subscriber at the point where they're added to your database, when using one of our forms. It's important to brand the email to your branding to ensure they recognise who has sent it to them.
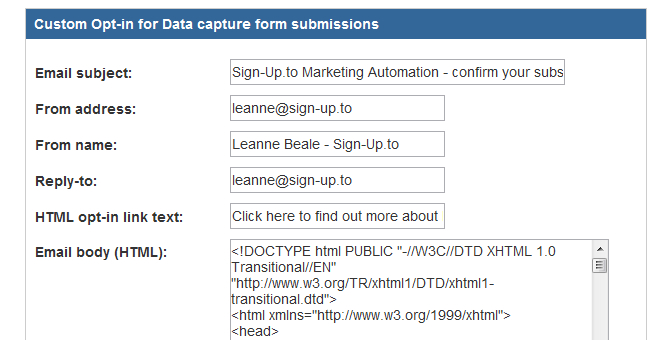
Once the above 'Create custom opt-in email' link is clicked we were then able to add our standard HTML template and some copy.
Looking at the data capture form is a good next step. A form is often the central hub of any campaign; it's where people will sign up to receive more information so it has to be concise and appealing.

Within your Sign-Up.to account you can decide what information to capture on the form; we opted for the subscriber's email address, first name and surname. Paragraphs can be inserted to guide subscribers through the form process (see below).
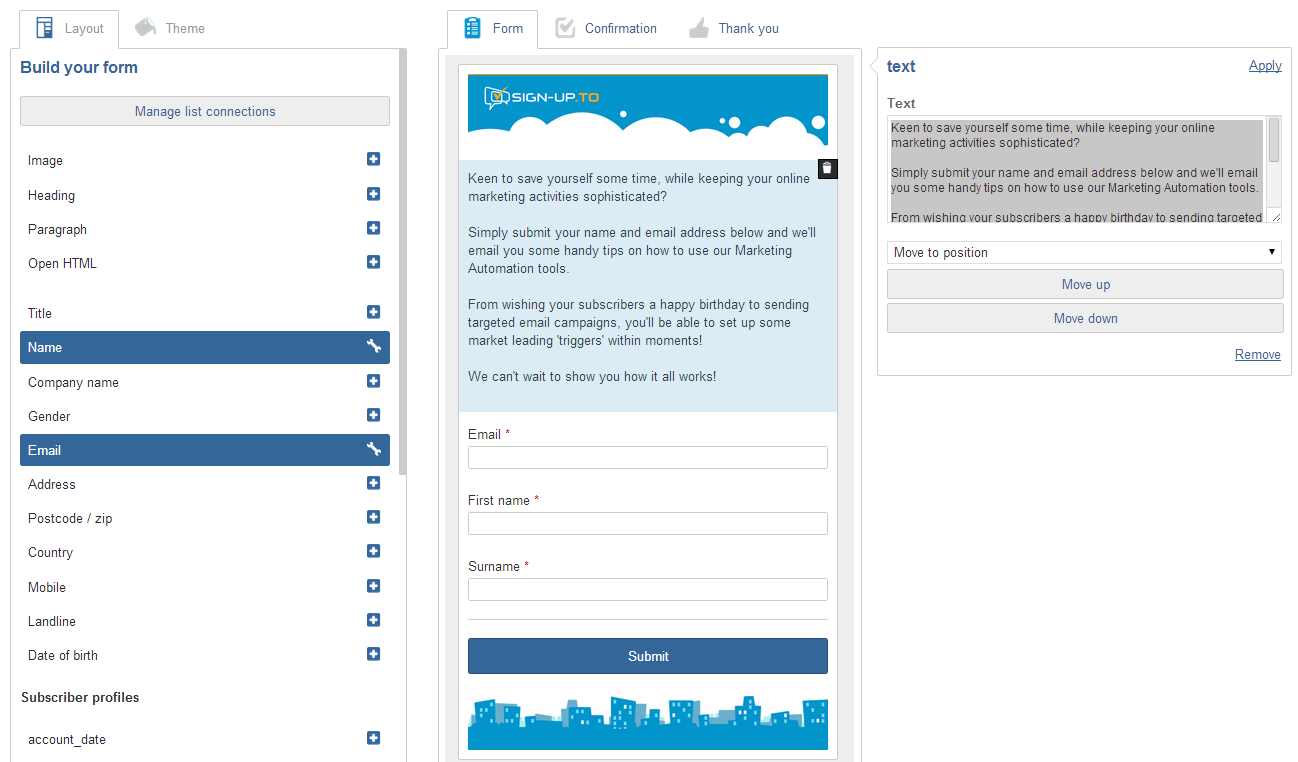
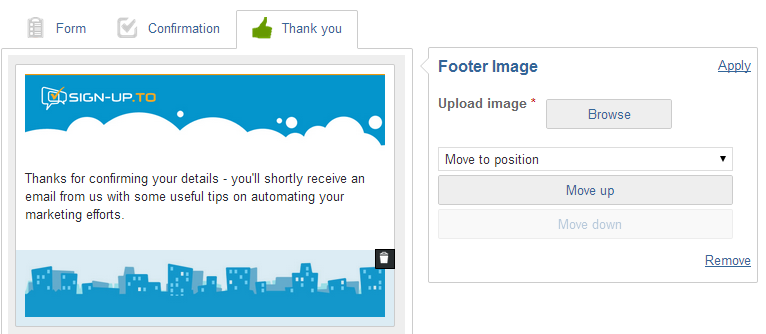
You can also add images in the form builder. We added the Sign-Up.to header and footer as the top and bottom images for all three pages.
After this you can consider the style of the form. For this campaign it was really important that it matched our branding, so we used the “Lively” theme and changed the form background colour to white.
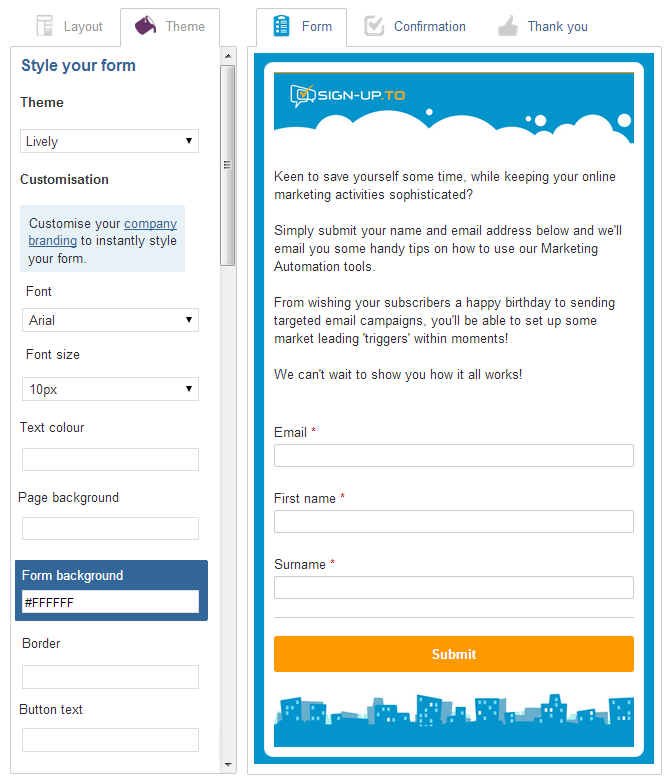
Click here to see our 'Show me how' data capture form in full.
Create: six email campaigns designed to send based on the readers' interaction with the campaign.
Once all of the email content is prepared each email can be created using the Campaign Designer mode.

Below we've listed three handy tips you might need when setting up your email campaigns.
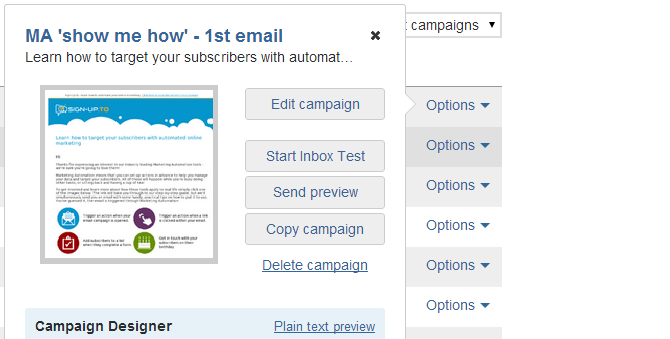
1. If you're setting up multiple campaigns and need to keep the formatting consistent, you can use our 'Copy' feature which sits on the main Create page (see the image below).
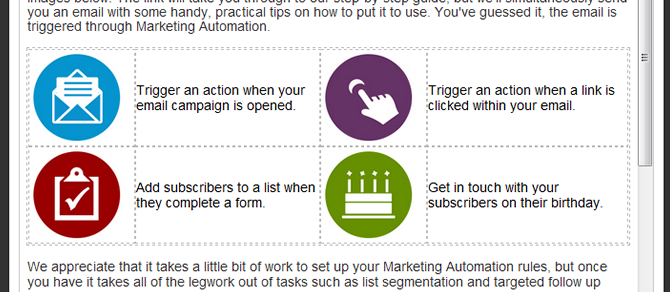
2. Tables are easy to set up and a nice way of showing images and text.
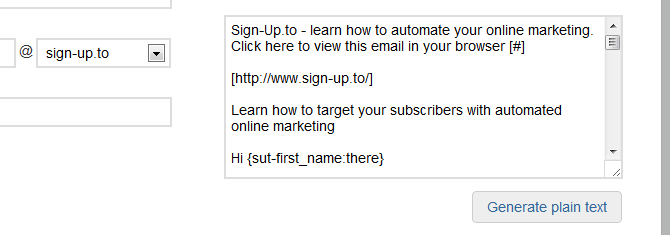
3. Setting a plain text email can happen with the click of a button and means more people are likely to read your email. Just click 'Generate plain text' in the 'Save' window, as shown in the screenshot below.
Send: 18 Marketing Automation rules (across six email campaigns).
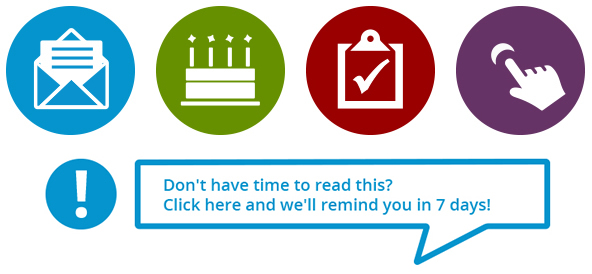
Before setting up your rules it's good to work out which triggers are needed for each campaign. For example, we knew there were five rules needed for the first email in this campaign, one for each of the icons shown below.
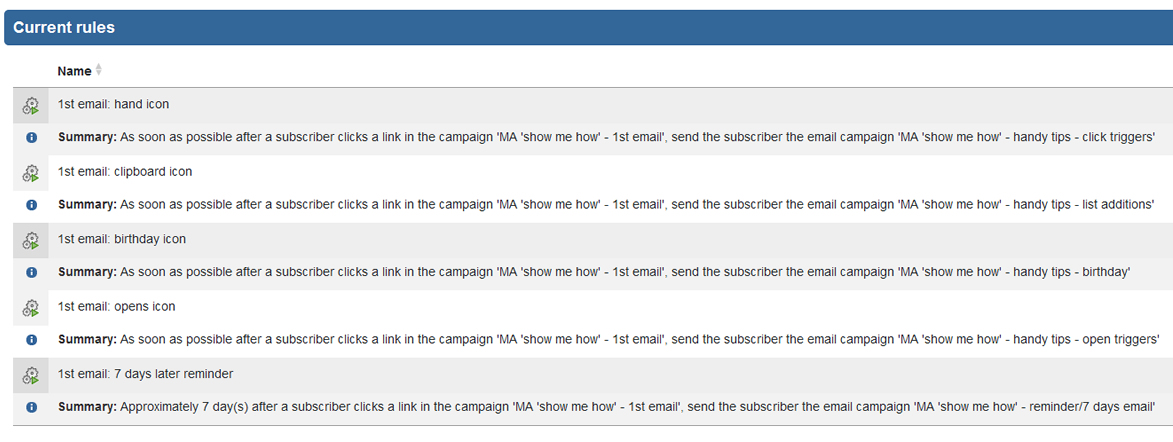
To avoid confusion it's best to approach setting up multiple rules in groups, for example one campaign at a time. You can see the rules set up for the first campaign in the screenshot below (click the image to see full size).
It didn't take long to set them up, but planning ahead is important to ensure no rules are missed. When setting up a similar set of rules, try creating them one group at a time, name them clearly and don't forget to test them!
That's it, you can see the campaign in full for yourself here – we'd love for you to get involved.