Organising your data makes it easier to segment your subscribers, keep track of email marketing campaigns and ensure your messages reach the correct recipients. Within Sign-Up.to you can use folders and lists to keep your data under control.
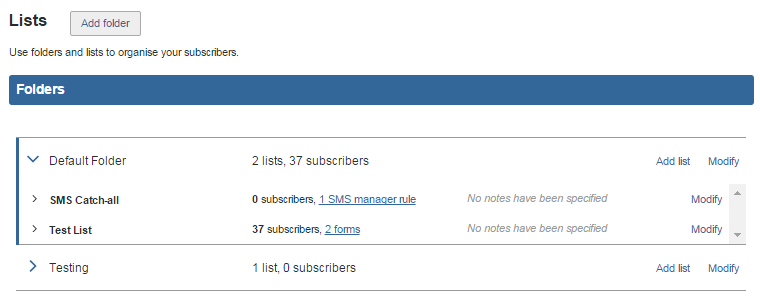
All of your subscriber data can be found in 'Lists' under the Collect tab. When your account is first opened, a default folder is automatically created.
Viewing lists within a folder
To view the lists within a folder, click the arrow next to the folder name. Folders are purely for organisational purposes – they don't affect your data in any way and you can move lists to different folders easily.
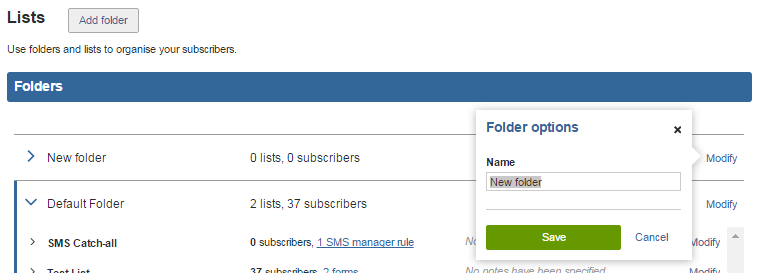
Creating a folder
To create a new folder, click 'Add folder', and in the new window you can name your folder. Click 'Save' and the folder you've created will appear on the 'Lists' page. You can add lists to folders at any point.
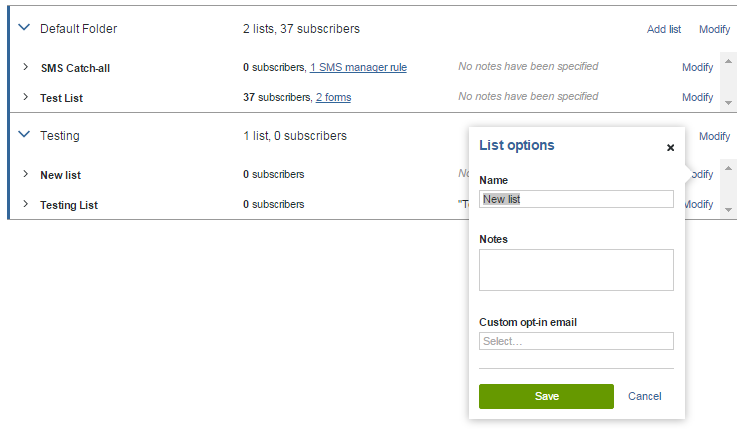
Adding lists to a folder
To add a list within a folder, click 'Add list' and name the list in the new box. List names should contain no more than 60 characters including spaces.
At this point you can also choose to:
- Add a note: here you can add a note to your list, for your own reference. Your subscribers won't see this note and it's a great way to organise your email list effectively.
- Create custom opt-in email: here you can customise the email sent to subscribers when they confirm their email address after signing up through a data capture form. Check out our guide on creating a custom opt-in email for more information on how to do this.
Click 'Save' once you've named your list and you'll see the list in the chosen folder.
Once the list has been added, you can select to 'Modify' any of the options, including the 'Folder' the list is stored under.
Managing your lists
You can view any data capture forms or SMS rules already associated with a list.

You'll also see a few more options when your lists are expanded, which you can click to further organise your Lists:
Subscribers
The subscribers held within the list will automatically show, along with the basic information held on them, including their engagement score. Infinite scrolling is used to load more subscribers as you scroll down the page.
From here you can select to 'edit' and 'delete' individual subscribers held within the list.
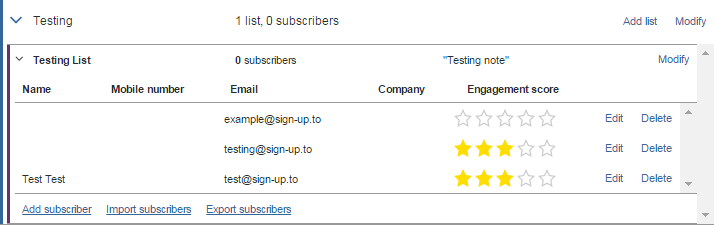
You can also do the following:
- Add subscribers: here you can manually add subscribers. However, if you wish to add a large number of subscribers you may find it more beneficial to import a list into your account.
- Import subscribers: here you can import CSV files of subscribers. To find out more about this check out our guide on importing data into your account.
- Export subscribers: exporting subscribers is a good way of keeping a backup of all your information, though all data is stored securely within your account. To find out more about exporting check out our guide.